

AI Integration Quick Reference
AI Integration Quick Reference
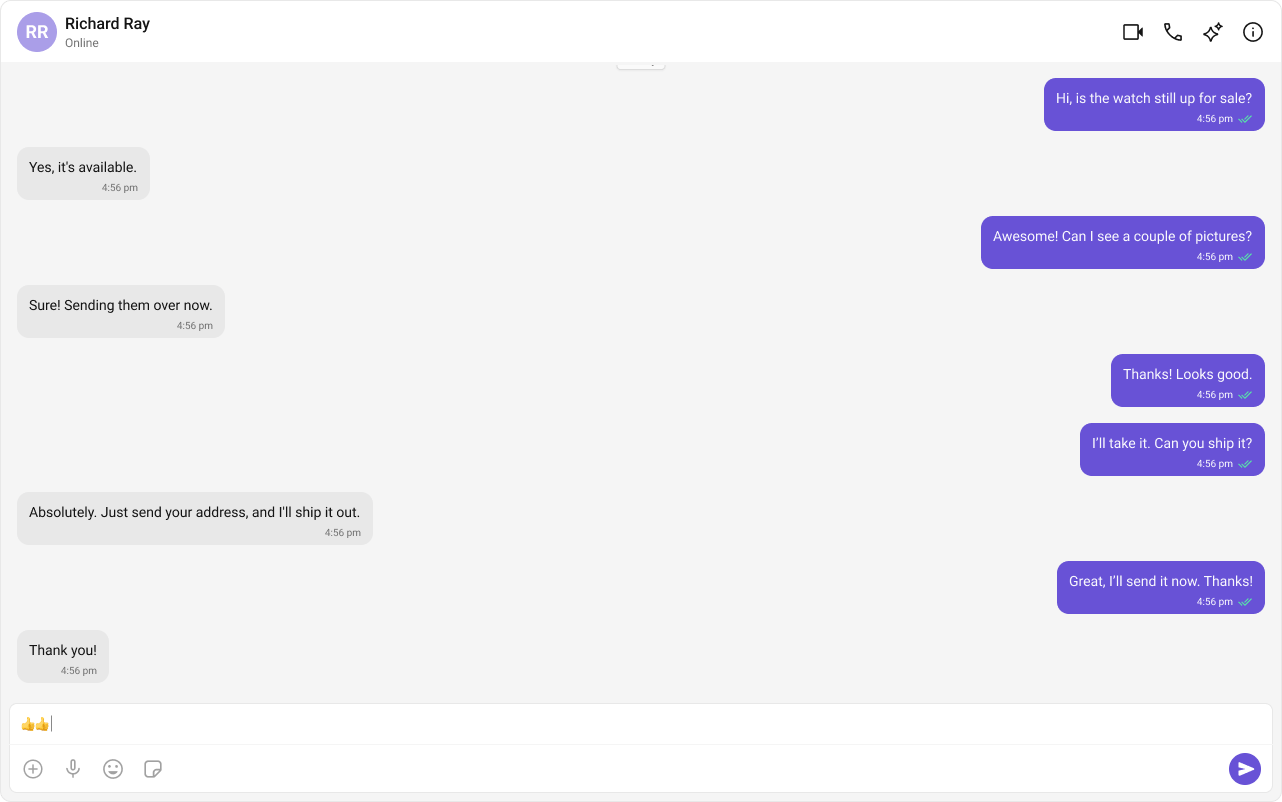
What You’re Building
Three components stacked vertically:- Chat header — displays recipient name, avatar, online status, and optional call buttons
- Message list — real-time chat history with scrolling
- Message composer — text input with media, emojis, and reactions
AppComponent — no extra files needed.
Step 1 — Update AppComponent
The app fetches a user (or group) on mount, sets it as the active entity viaChatStateService, and renders the three message components. The components auto-subscribe to the service — no prop passing needed.
src/app/app.component.ts
CometChat.getUser(UID)fetches the user object from the SDK — you need a real user object, not a manually constructed one.chatStateService.setActiveUser(user)sets the active entity — all message components auto-subscribe and render accordingly.- Setting a user automatically clears any active group (mutual exclusivity).
Switching Between User and Group Chat
To load a group chat instead of one-to-one, replace thesetActiveUser call with setActiveGroup:
Step 2 — Run the Project
Next Steps
Theming
Customize colors, fonts, and styles to match your brand
Components Overview
Browse all prebuilt UI components
Angular Integration
Back to the main setup guide
Core Features
Chat features included out of the box